
LED wristband and controller setup
Identify your DMX433 controller, prepare compatible LED wristbands and run a first test. Find model-specific manuals, DMX checks and troubleshooting.
Identify your controller
This guide covers the DMX433 controller versions shown below. It is not a setup guide for every RF, 2.4 GHz or rechargeable wristband. Match the panel labels and the model confirmed in your order.
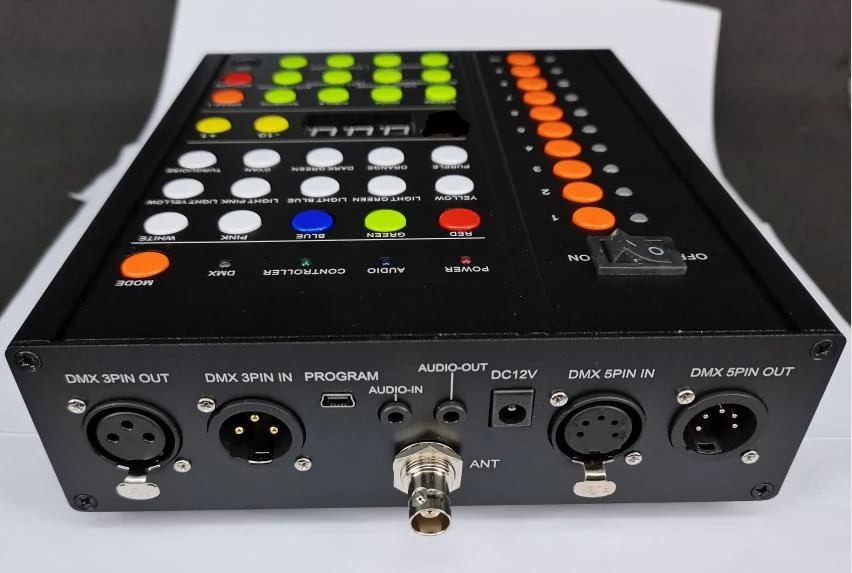
DMX433: 10 zones
SPARE-1 and ACTIVATE buttons. Use the matching 10-zone manual.
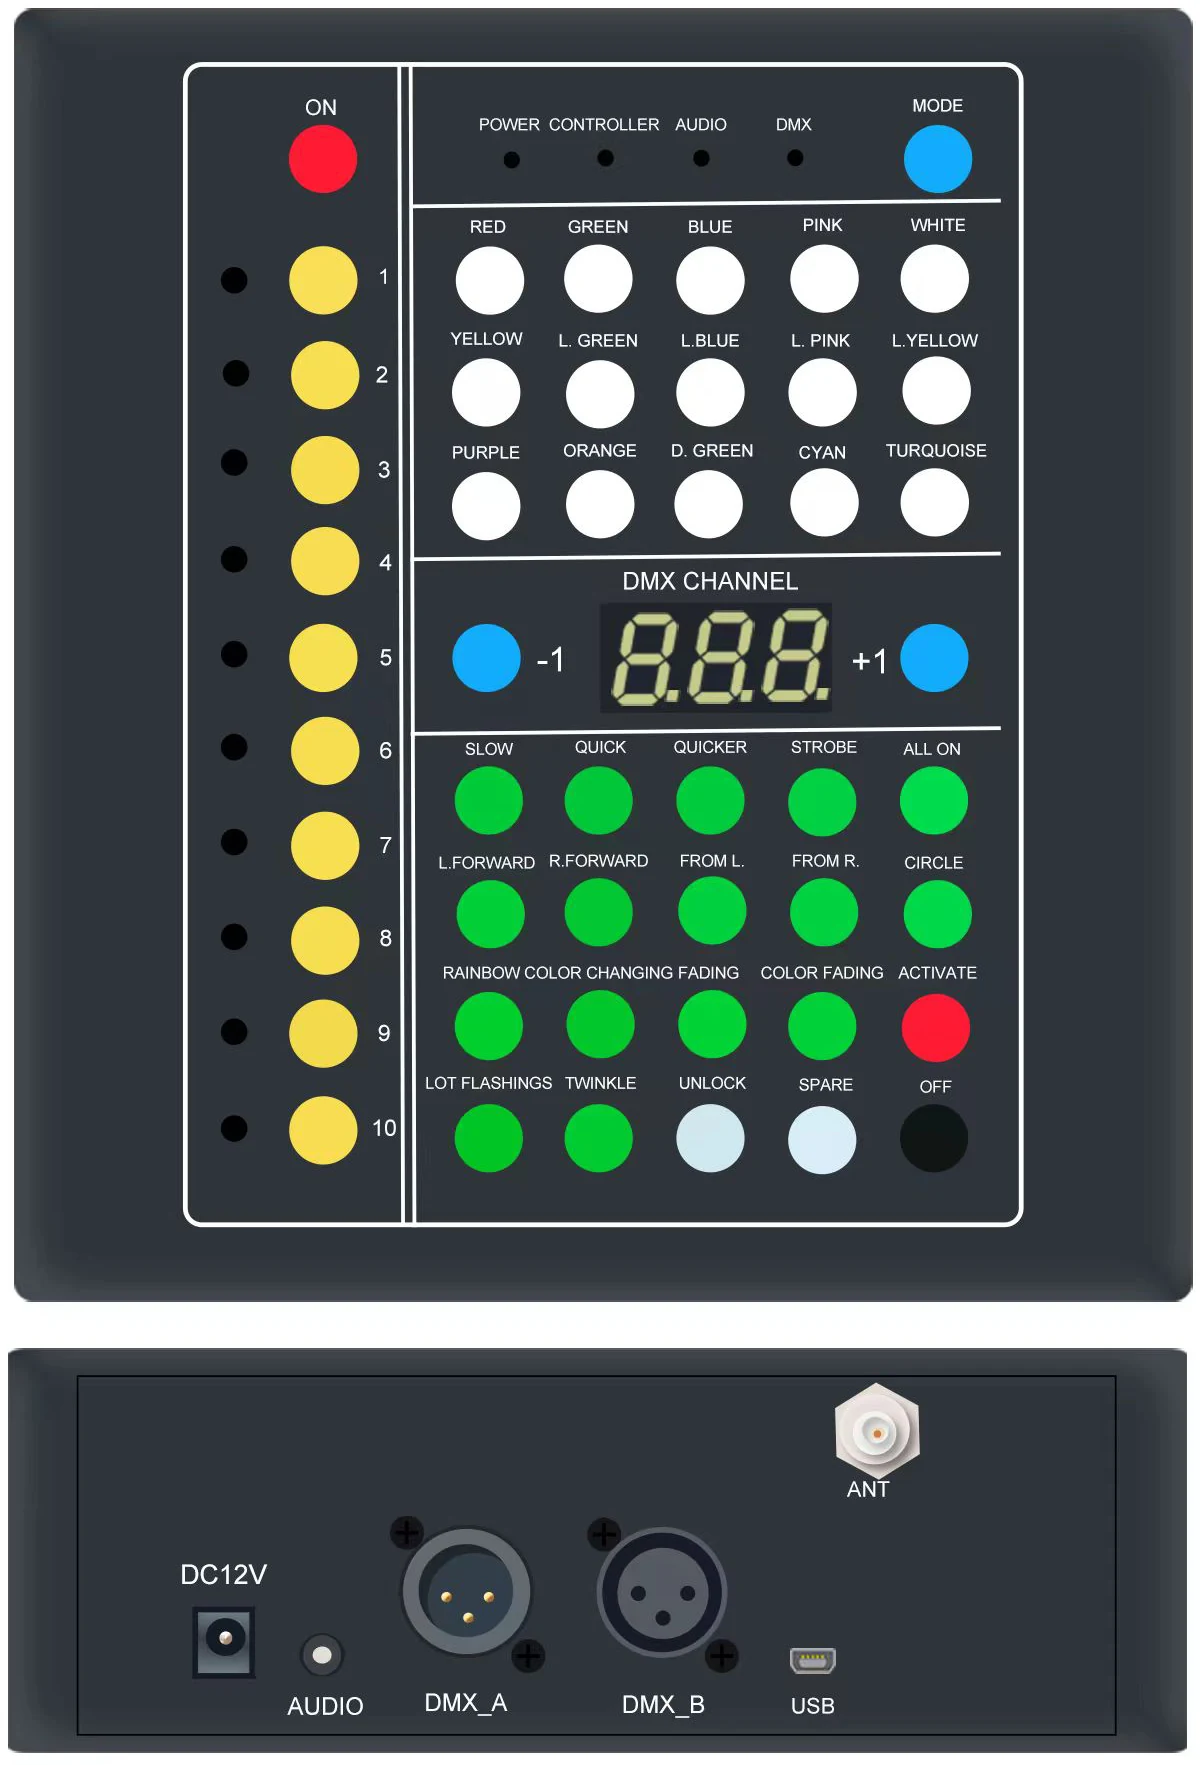
DMX433: 10 or 20 zones
SPARE, UNLOCK and ACTIVATE buttons. Confirm the supplied zone count and firmware.
Run the first test
- Connect the antenna before switching on the controller. Unwind its cable and position the antenna about 2 metres from the controller and lighting desk, as specified in the manuals.
- Use the power adapter specified for the controller. Prepare a few compatible wristbands according to their own model instructions.
- Select CONTROLLER with MODE. Select the wristband zone and test one colour before testing effects.
- Test ACTIVATE if your wristbands support hibernation. OFF stops the light but may not disconnect battery power.
- Test the required zones and cues across the actual venue before distributing the wristbands.
For wristbands with a battery insulating tab, remove it for the test. Reinsert it afterwards only if your model has a reusable tab.
DMX and audio modes
For DMX, connect the lighting desk output to the correct controller DMX input and select DMX with MODE. A lighting technician must confirm the start address and channel map for the supplied version: the manuals differ.
AUDIO mode uses the specified audio input and cable. Adjust the input level so the indicator responds to the music. This does not imply Bluetooth control or a microphone in each wristband.
Troubleshooting
- No response: check wristband activation, battery condition, controller mode, selected zone and compatibility. Compare with a known working wristband.
- Interference or unexpected mode changes: check antenna placement and repeat the venue test.
- Wrong DMX effect: verify the input, mode, start address and exact channel map; test each function separately.
- Do not reprogram zones unless the wristbands support it and the model-specific procedure is confirmed. Keep the affected batch separate.
- Rechargeable models need their own charging instructions. These controller manuals do not specify a universal charger or charging time.
Watch the video guides
From the official WristbandFactory channel. Video audio and captions retain their original language. Match the shown equipment to your supplied model.

DMX controller demonstration
See the controller and lighting desk working together. Use the matching manual for connections and channel settings.
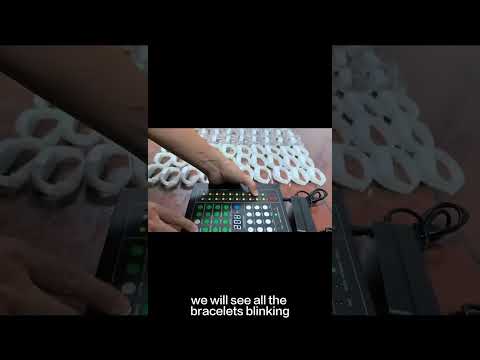
Reprogramming a wristband to a new zone
A practical zone-change demonstration for compatible, programmable wristbands. Keep the batch being changed separate.

Compare LED wristband models
Several wristband designs responding to one controller. Confirm compatibility for each model in your order.

Individually addressed light patterns
Advanced pattern control needs a compatible system and a planned wristband layout. Ordinary zone control does not provide individual pixel addressing.
Change a zone on a compatible model
Only reprogram wristbands confirmed to support it. Isolate the affected batch and follow the procedure for your controller.
- On the SPARE-button version shown, hold the target zone button and SPARE together for about two seconds. Wait for the confirmation flash, then test colours in the new zone.
- If your panel uses SPARE-1, follow its own manual. Do not assume the same buttons or procedure apply to every controller.
Download the original manuals
The web instructions follow your selected site language. The PDF downloads retain their original language and model-specific diagrams.